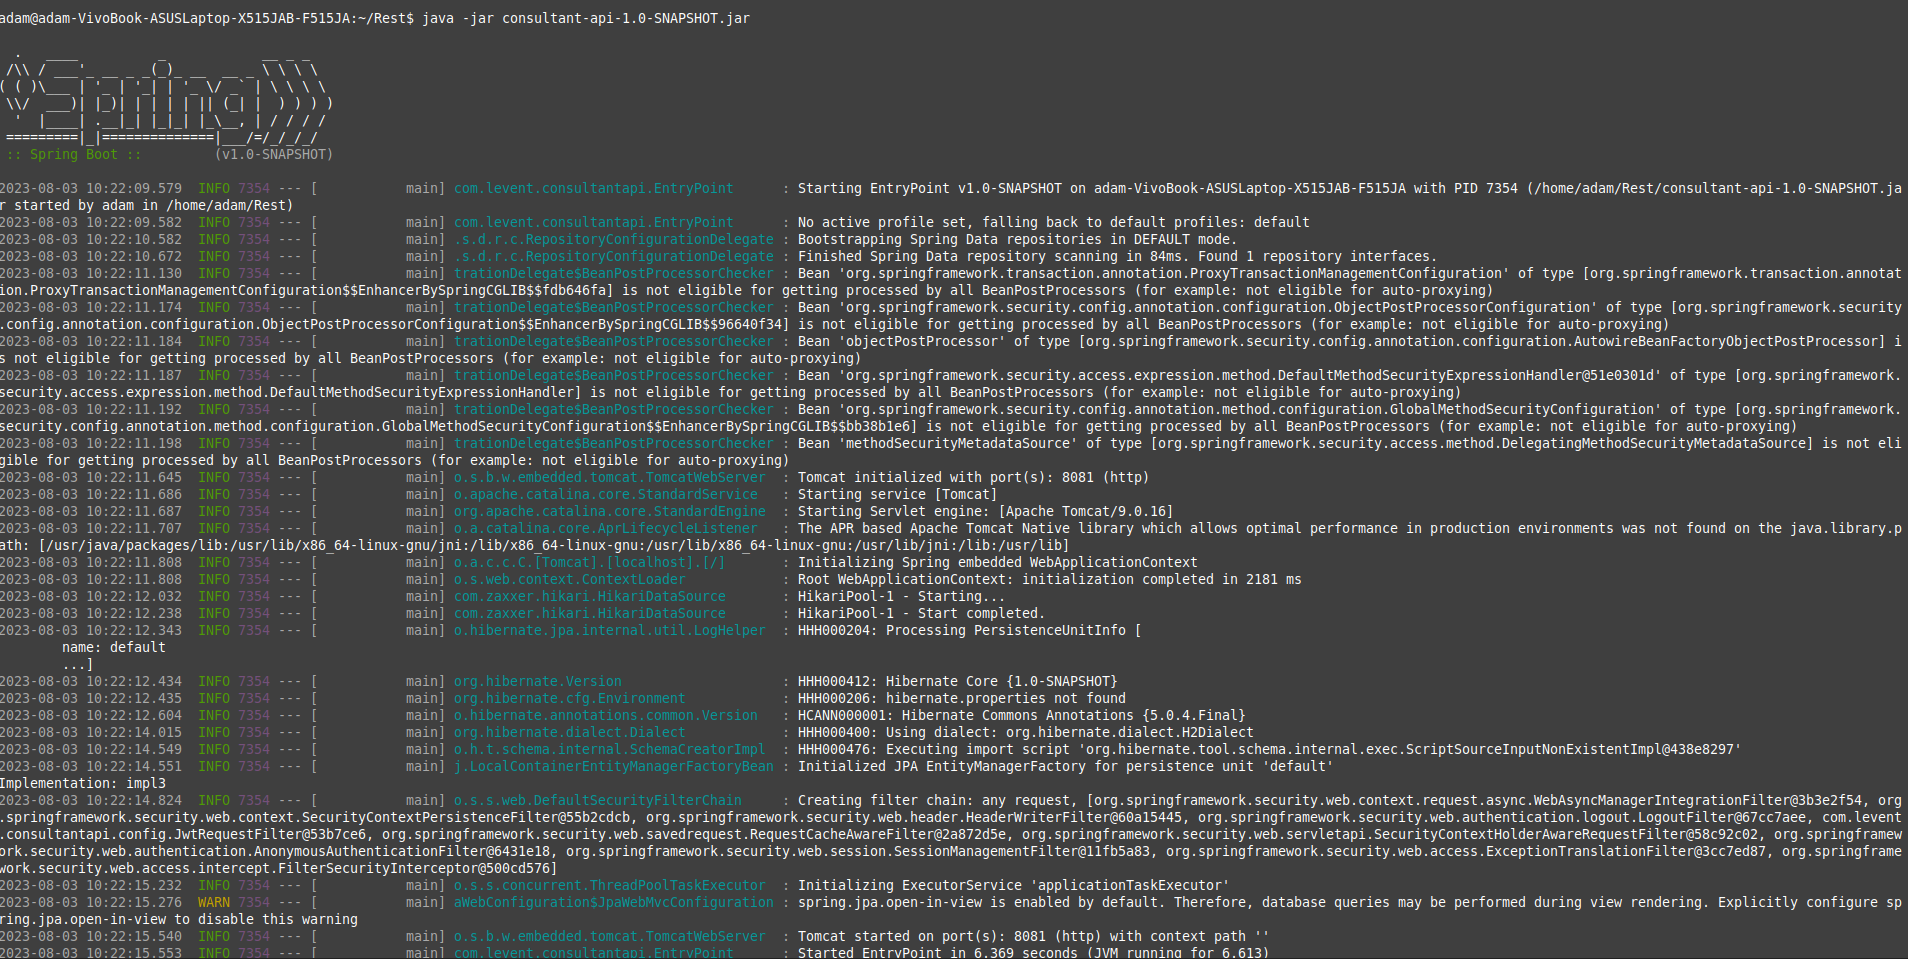
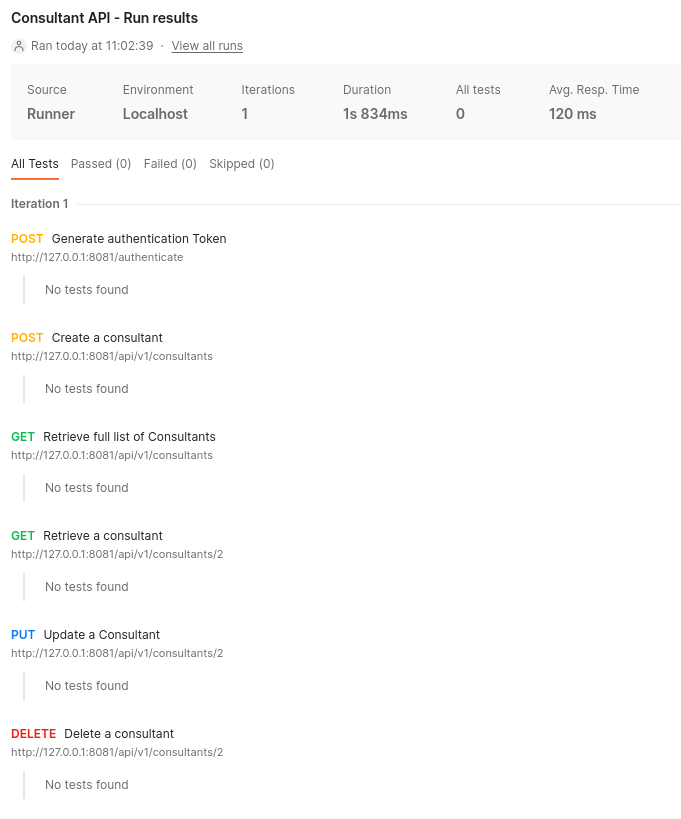
My own simple RESTful all is finally up-and-running
It has taken a while, but I’m finally done with the simple app I needed fot testing purposes!

Now I can easily run, deploy and test my own webservice application.

I will use it to demonstrate my skills in using Postman and writing tests with it. In the future I will be able to deploy the app on AWS maybe, and demonstrate a Terraform script as well. There are a much more possibilities as well with the app, for instance: tests with SoapUI, RESTassured, dockerization…
Ech… OK, for now let’s concentrate on the Postman tool.
I must admit that my initial plan was a little bit different. I wanted to use an app running on local Tomcat installation, and with HATEOAS implemented (see my previous post for more details). Although I managed to start the app, but somehow I wasn’t able to make any request. I constantly got an HTTP-404 response. Definitely, there was a problem with request’s mappings, or maybe with Tomcat’s configuration. I tried to fix it, but I failed. Well, after all, I’m just a QA, not a developer. I can understand many things from the code, but apparently the issue was too weird for me, so I decided to… change the base app.
This time, as a base for my app I have chosen a simple spring-boot RESTful webservice example from: this Github link. It’s a very nice web app which supports all the basic HTTP methods. Maybe it doesn’t support a HATEOAS principles, but is written in very understandable way, so I was able to tweak it a little bit for my needs.
First of all, I upgraded the Java version to 11, as well other libraries. At this point I had to also modify some of the methods, since for instance, the method T findOne(ID primaryKey); changed its signature to:
<S extends T> Optional<S> findOne(Example<S> example);
At the end, however, I made all the necessary corrections and voilà: I got a working app :-)
Apart from the fact, that the app supports the basic HTTP methods, it also runs on an embedded Tomcat, and contains an im-memory H2 database. So by creating the Uber-Jar, I got a complete and working environment, what is awesome. I don’t need to configure any external service like a WWW server, just to customize a very simple config file, and start the SpringBoot app. That’s all.
The app contains endpoints for retrieving a full list of consultants, retrieve a single consultant, create a consultant, modify it and delete. All god, but I wanted something more. The thing I missed here is the authentication mechanism. All the endpoints was not secured, there were no authentication. So I decided to add one myself.
I have found on the Internet a nice guide to do so in a SpringBoot application. The link is as follows: link. This guide helped me a lot to understand how the authentication works in SpringBoot apps, as well as made me able to implement the missing part within my own app. So at the end, I have a working app with implemented ‘Bearer Token’ authentication. The implementation of course is far from being ideal, but fairly enough for me to use it with my tests written in Postman.
So that’s all for Today. I’ve already started writing tests in Postman, and I am going to show these in a next post. At this moment I only want to say, that the inline documentation which can be found under Postman Learning Center is completely outstanding!.

Comments